Installing and Configuring Alacritty Terminal
Trying out a new Terminal Emulator.
I have been using Ubuntu for some time and using mostly the Gnome-Terminal for most of my command line workflows. It works quite well out of the box but lacks customization. It’s been quite laggy lately, and I have noticed some dropped frames when editing large files using nvim (Probably because I use bloated nvim configs like LazyVim, and configuring with lua is just way too tedious. I might actually do a blog post on configuring nvim from scratch).
I recently came across this cross-platform terminal emulator called Alacritty that is built entirely in Rust and is GPU accelerated. I am sold! Let’s look at some more features.

Features of Alacritty
- Searching within any scrollback buffer.
Vimode to move around withvimkey bindings and select stuff. (Sweet!)tomlconfig.- Opening
urlwith Keyboard.
I am not too happy about the toml config part, but on their Github they do advertise the product as, and I quote:
Alacritty is a modern terminal emulator that comes with sensible defaults, but allows for extensive configuration.
We’ll see.
Installation
They offer pre-built binaries for macOS and Windows but not for Linux, so let’s build it from source. The detailed installation for your own Linux distro can be found on their Github Installation Guide
Prerequisites
If you don’t have Rust, you would need to install it. It’s just a simple bash script. This installs the rustc, rustup, and cargo:
curl --proto '=https' --tlsv1.2 -sSf https://sh.rustup.rs | sh
Clone the repo to your preferred location:
# clone the repo
git clone https://github.com/alacritty/alacritty.git

# change into the cloned repo
cd alacritty
Install the dependencies. These are different for different distributions. For Debian systems like Ubuntu, install the following:
sudo apt install cmake pkg-config libfreetype6-dev libfontconfig1-dev libxcb-xfixes0-dev libxkbcommon-dev python3
Building the program
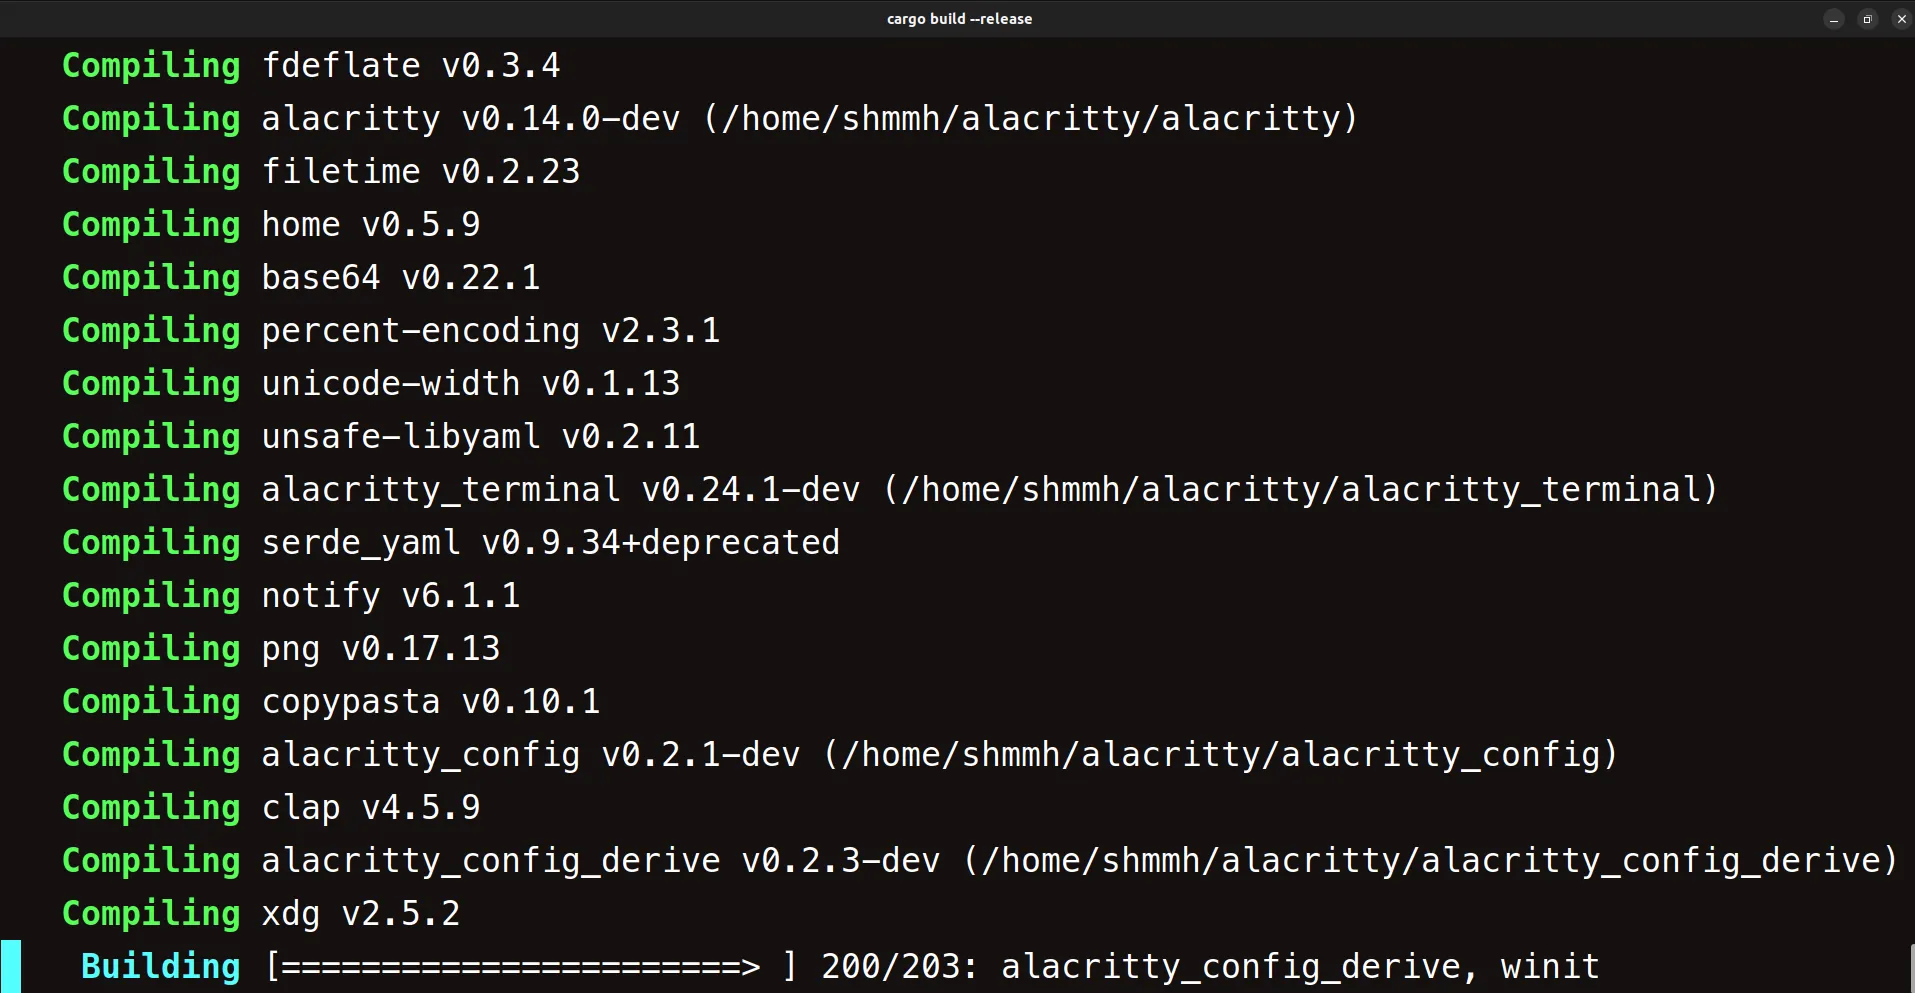
Make sure you are in the git repo and run the following command. You might want to grab a cup of coffee for this and prepare for your device to heat up a little. It will download all the necessary crates (small rust packages that the program depends on) and compile everything using rustc specifically for your architecture and distribution. (Note: I had some issues with the pre-built binaries, especially when I installed them through snap, so it is always recommended to build it from source.)
cargo build --release

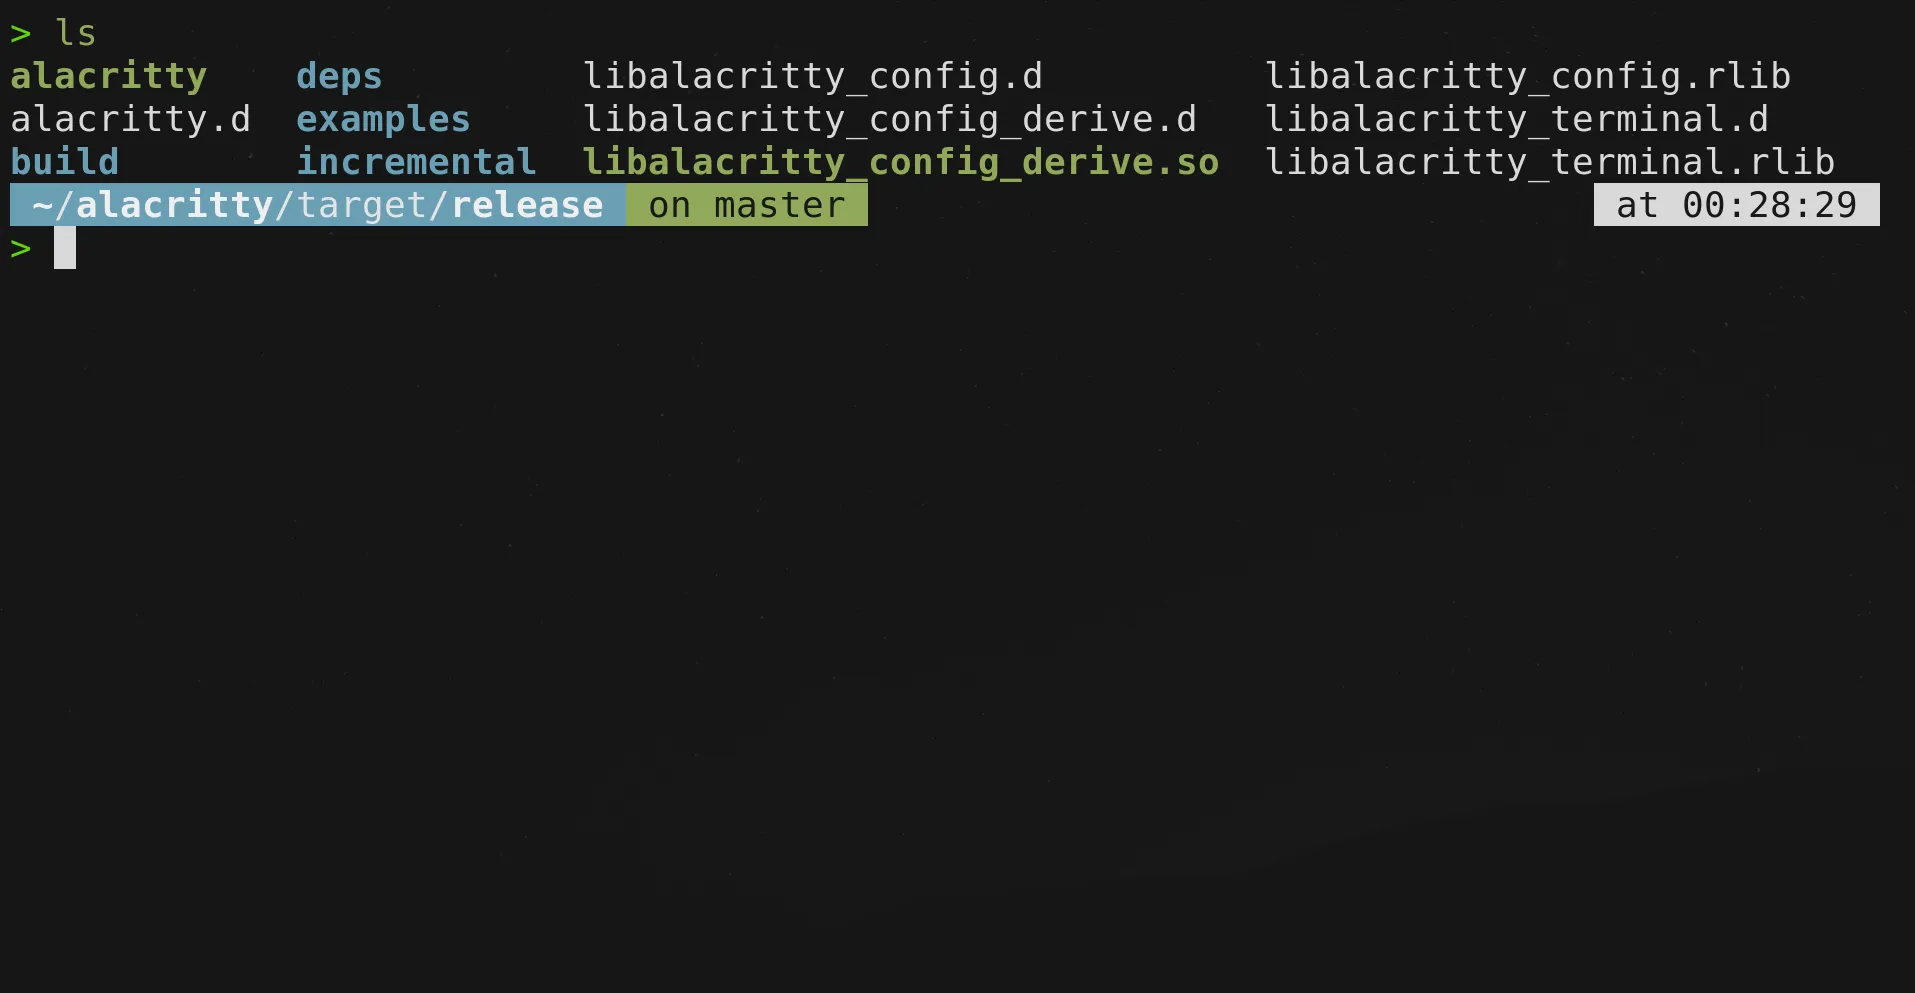
It took about 2 minutes for everything to build, and hopefully, I can run the binary located at target/release.
Check if you have the binary and run it: ./alacritty.

It probably won’t look like what it looks like on my device. I use zsh and oh-my-zsh with powerlevel10k with a few additional plugins.
There are a few things you have to do to get the app showing in the Application menu. Now move back to the main directory of the repo.
- Make sure
terminfois configured properly. Ngl, I had no idea what it was before today. It stores information and capabilities of different terminal types, and you can check theterminfoby runninginfocmp alacritty. - If this returns an error, install the
terminfoforalacrittyusing:
sudo tic -xe alacritty,alacritty-direct extra/alacritty.info
- Now create the Desktop entry:
sudo cp target/release/alacritty /usr/local/bin # or anywhere else in $PATH
sudo cp extra/logo/alacritty-term.svg /usr/share/pixmaps/Alacritty.svg
sudo desktop-file-install extra/linux/Alacritty.desktop
sudo update-desktop-database
Extras: Configuring Man Pages
I think man pages are invaluable to a Linux user, so let’s set the man pages for alacritty. There are way too many steps involved, so I am just going to paste the commands from their installation guide. I have added some comments to tell you what each step does.
# Make necessary directories. This is where the pages live
sudo mkdir -p /usr/local/share/man/man1
sudo mkdir -p /usr/local/share/man/man5

# scdoc is a simple man page generator utility program. The relevant scd files are included in the git repo.

# What this is doing is taking the scd files, generating man pages, compressing them with gzip and writing to a file with tee program.

scdoc < extra/man/alacritty.1.scd | gzip -c | sudo tee /usr/local/share/man/man1/alacritty.1.gz > /dev/null
scdoc < extra/man/alacritty-msg.1.scd | gzip -c | sudo tee /usr/local/share/man/man1/alacritty-msg.1.gz > /dev/null
scdoc < extra/man/alacritty.5.scd | gzip -c | sudo tee /usr/local/share/man/man5/alacritty.5.gz > /dev/null
scdoc < extra/man/alacritty-bindings.5.scd | gzip -c | sudo tee /usr/local/share/man/man5/alacritty-bindings.5.gz > /dev/null
Phew! That was a lot. We are almost done. Now we just need to configure the terminal.
Configuring Alacritty
The good thing about having a single config file is everything is declarative. Every time alacritty is launched, it checks the ~/.config/alacritty folder for the alacritty.toml file.

If this does not exist, create the directory with mkdir -p ~/.config/alacritty and create a config using touch alacritty.toml. (The -p makes sure all the parent directories are created.)
The syntax of the alacritty.toml file can be found on their website: Config Alacritty
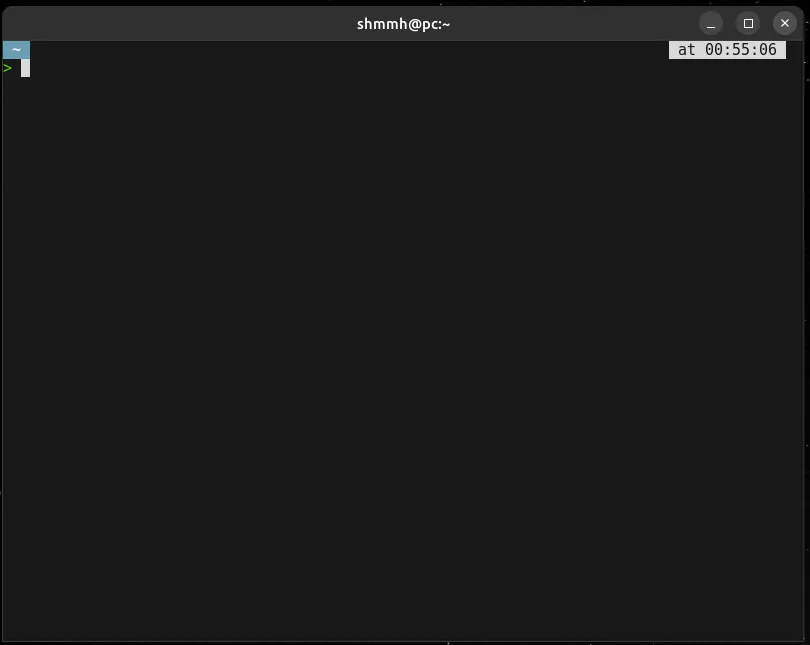
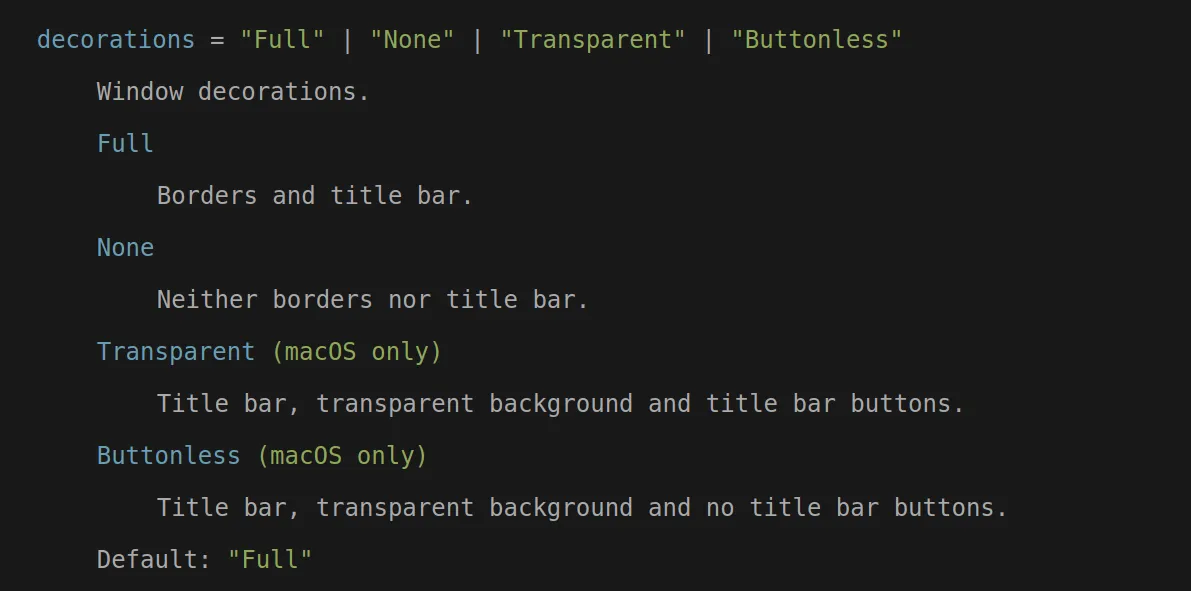
First things first, let’s remove the unnecessary title bar from the app.

You can do this by adding the following to your toml file:
[window]
decorations = 'None'
I’ll leave you here. You can do things like adding padding, opacity, blur, etc.
kthxbye!